This is yet another piece I made for the Gallery One Resident Artists' Holiday Show 2020
 |
That's me on the left.
|
Construction Pictures:
 |
This is an aged slab of walnut
|
 |
Drivers from maybe 40 estate sales - looking for mostly yellow and orange.
|
 |
Bright LEDs, check. They're the wrong shape... es no problemo.
|
More Construction Pictures After the Link:
SEE MORE - CLICK HERE:
 |
Strange cataract in the wood.
|
 |
The strange cataract in the wood turned out to be a copper wire wrapped with garden hose! That was probably a stay that was put around the tree when it was a sapling. I counted 32 growth rings past it, so the tree worked hard to get it in there.
|
|
 |
I'll have to be careful with the planer.
|
 |
After a couple of passed through the planer. Oh, and sliced up. There's some math involved to get the angles and lengths to work out.
|
 |
Need to get things straight. I have a jointer, but I was worried there might be more surprises in the wood.
|
 |
Roughed out to dimension. My table saw cant make a long enough cut to get the angles on the first pass.
|
 |
The cataract made some cool grain.
|
 |
So... bugs. Maybe termites? I'm not an entomologist, dunno.
|
 |
Getting ready for the angles.
|
 |
Angles marked out and my craftsman 1950s universal jig. The blade won't go all the way though.
|
 |
Finish the cut with a Japanese saw.
|
 |
I stopped and drilled a raceway for the cord. I didn't want a cord just hanging down all stupid looking.
|
 |
Time to gut the LEDs from the fixture.
|
 |
Should be bright enough.
|
 |
This is planning out the box. I need one tray to hold the lights, a floor and then I had a plan for the third cut, but abandoned it.
|
 |
The lights and transformers will sit on plexiglass so that light will show down below as well.
|
 |
Gluing up the box, keeping right angles.
|
 |
All glued up.
|
 |
The box is made of curly maple so it can match the slab wood.
|
 |
This is stopping for the 'proof of concept'. I didn't have a back-up plan, so I'm glad it worked.
|
 |
The drivers are only held in place by friction, so I used a clamp to make a smaller space temporarily. The tray needs to be just deep enough to hold the drivers in place, and yet leave maximum colored material above.
|
 |
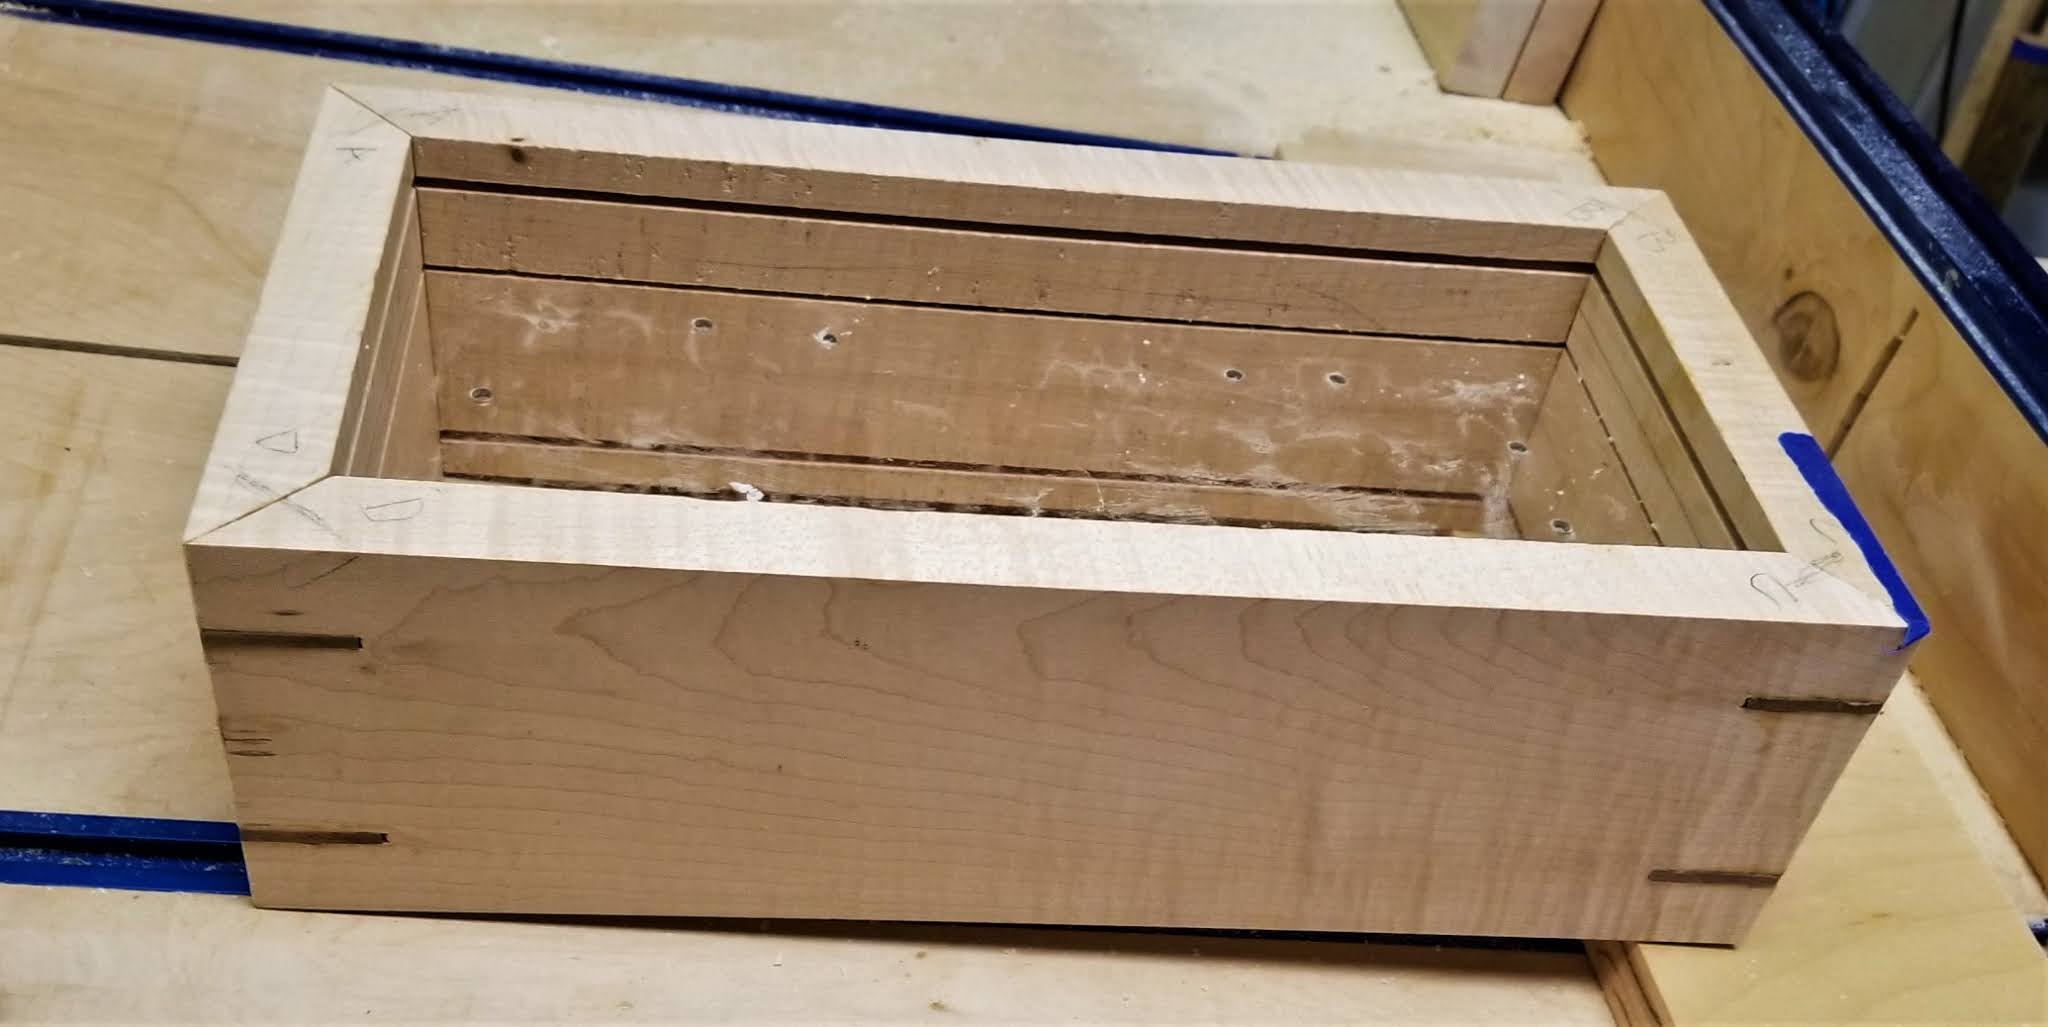
Adding splines for strength - and really to be fancy. I will need splines on the pedestal too, so walnut all around.
|
 |
Universal Jig again to cut the notches for the splines. I paid $5 for that jig set-up at an estate sale.
|
 |
I have a bunch of sanders, but I like this one the best. It's small but then I am close to the wood and get things more better right. Maybe 5 hours of sanding start to finish!
|
 |
Test fit. The dimensions and scale seem to work okay.
|
 |
Test fit again.
|
 |
Cutting splines on the pedestal.
|
 |
Walnut splines in the box.
|
 |
Walnut in the notches here too.
|
 |
This one shows the wire coming out the the top of the pedestal.
|
 |
Getting ready to trim the walnut back.
|
 |
I used three different walnut species. Seriously. English, standard Black and Peruvian.
|
 |
The grain on the box. Very pretty.
|
 |
Here you can see the wire heading in and out.
|
 |
Top view after the first finish coat.
|
 |
Making some feet so that the box sits above the table and light can shine down.
|
 |
Glued up.
|
 |
My Dog Kira!
|


No comments:
Post a Comment
I always appreciate comments or questions.